Showing posts with label Canning. Show all posts

Friday, July 25, 2014

Canning Dill Pickles


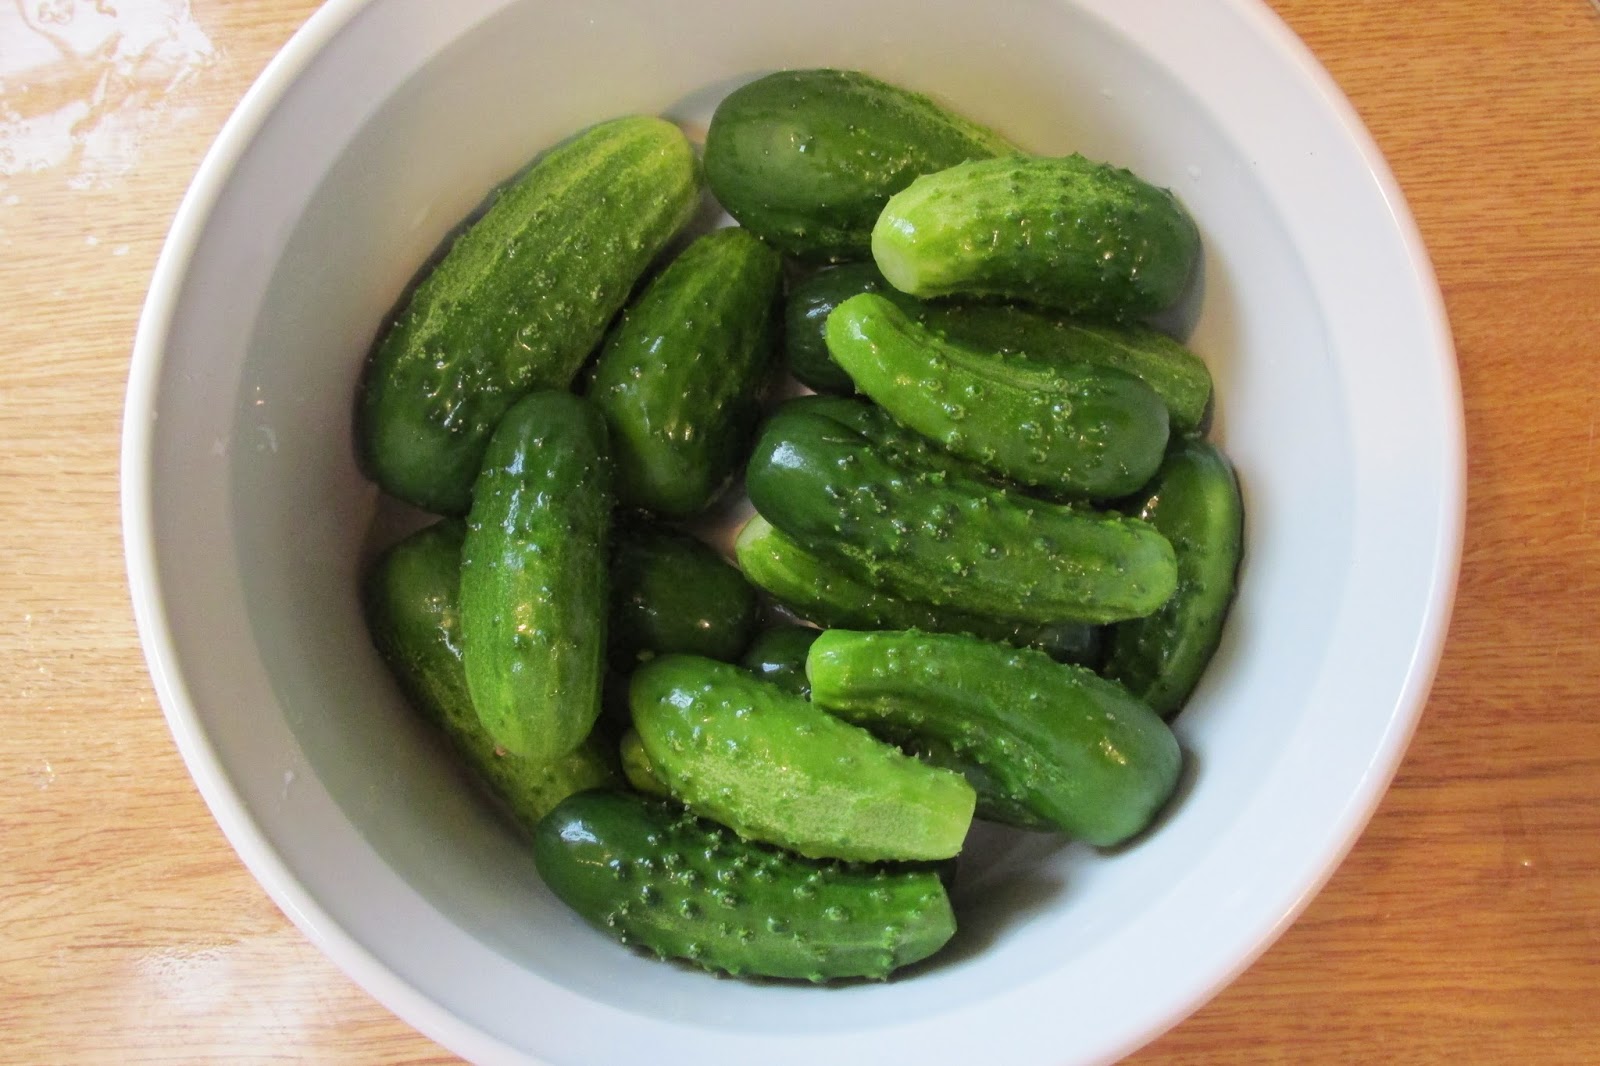
Though my own cucumber plants have yet to produce a single cucumber of edible size, my parents cucumbers have been working on overtime this week.  After a good sized harvest  it was clear that something had to be done, so we made dill pickles.

 
We did cheat a little bit with the recipe since we used a premixed blend of pickling spice, but sometimes less complicated is better.
 
First things first - we chopped the ends off of each cucumber and sliced them into spears
 
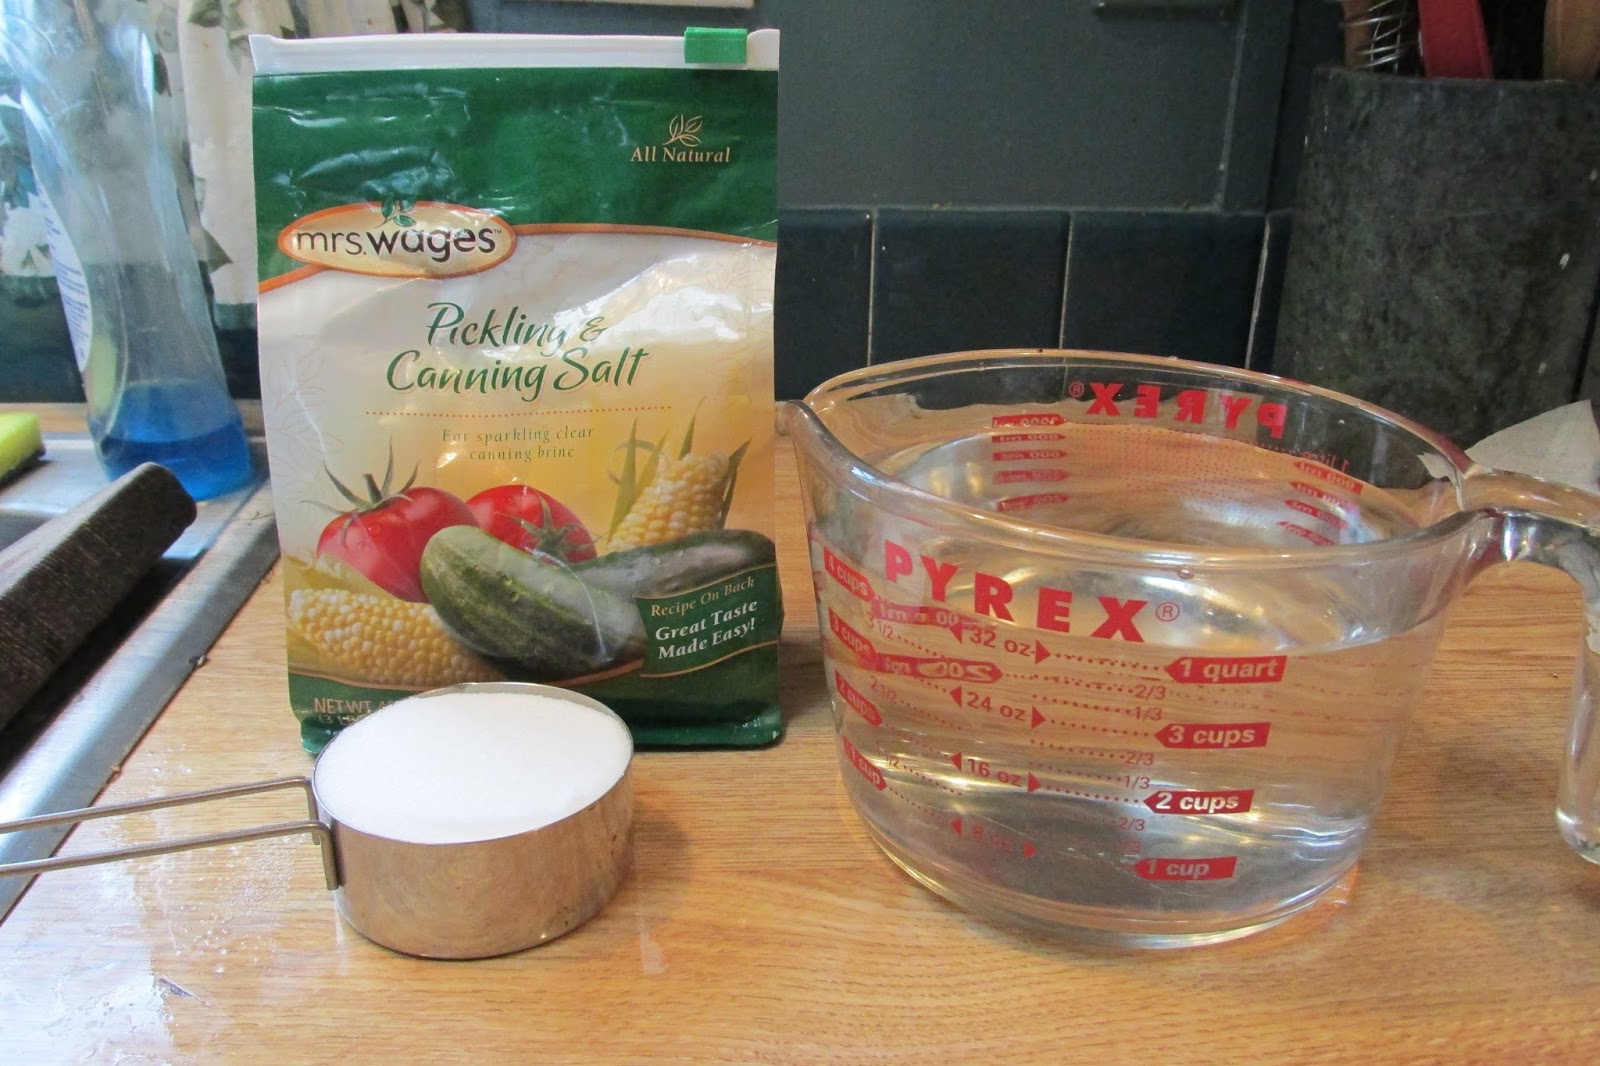
When the water bath was close to ready we mixed the pickling spice with the recommended amounts of water and vinegar and set it on the stove to boil.
 
When the jars were ready and everything was boiling, we took the jars out and packed them as best we could with spears.  Then we topped of the jars with the pickling brine and sealed them up before placing them back into the water bath.
 
 
It wasn't easy to get those spears into those jars and there seemed to be a lot of leftover space in each jar, but we only fit what we could.  We realized as we were filling the jars with brine that there might not be enough to fill them all, so we had to quickly whip up another batch (thank goodness for premixed salt and spices!)
 
We ended up with a total of five quarts of homegrown pickles and I have a feeling there will be plenty more of those before the season is over.
 
 
Can't wait to see how they taste in a few weeks!


Monday, July 21, 2014

Canning Peaches

On Sunday I went to the local farmers market and procured 4 tubs of ripe, juicy peaches fresh from a local farmer.  They were perfectly round and had the deepest red blush and they smelled like a refreshing summer day.  It's nice to be able to get peaches that are picked just as they become ripe because they have so much more flavor than the peaches in the local chain grocery stores that are picked green and ripen in warehouses. 

The next day canning commenced.  We started by filled the canning pot and putting it on to boil.  Next we filled a smaller pot with water to boil for skinning the peaches.  As that reached the boiling point I made up a bowl of ice water and began to wash the peaches.  Since we had a good number of peaches we processed them in batches. 

First they go into the boiling water bath for two minutes.  Next they were transferred to the ice water bath.  After a few seconds in there the skins slipped of easily.  Once they were skinned they were cut into slices which is easier said than done.  Those peaches are slippery little suckers without their skins!  When it was all said and done we had two heaping bowls of peach slices.

 
The next step involved making the syrup for the peaches.  It is really much easier than it sounds.  All I did was mix 2 1/4 cups of sugar with 5 1/2 cups water.  I stirred until all the sugar dissolved and then put it on the stove to boil.
 
Once the canning jars were ready I removed them from the water bath and we filled them with the slippery slices, packing as many as we could into each jar.  Then we topped them off with the boiling syrup, wiped the rims and put the lids on securely.  Next they went back into the boiling water bath where they happily bubbled away for the next 25 minutes. 
 
When time was up I took them out of the canner and let them cool on the counter until their lids popped, letting me know they all sealed well.  All in all we canned ten pints of peaches today....not bad for a few hours work..
 
 
Not only do I love the way these jars of beautiful summer freshness look, but I love knowing exactly what went into making them.  The only ingredients are peaches, sugar and water, and that is all I really want in the something like this.  When I open one of these cans on a cold winter night, I will appreciate the afternoon that I spent making them as well. 

Friday, August 30, 2013

Canning Salsa

I made my very first batch of salsa several years ago.  I didn't follow a recipe and it managed to turn out delicious.  After starting to can foods I have grown in the garden I've learned that if you are going to can salsa, you should follow a recipe that has been proven to have safe acidity levels if you want to trust what you eat out of a jar.  As usual I flipped through the Ball Book of Home Preserving until I found a recipe that I thought sounded good.  For this batch I used the recipe for Zesty salsa.
Here I have gathered some of the ingredients called for in the book.  I like to use up my cherry tomatoes in salsa when I can't keep up with eating them.  They make it sweet with out having to add any sugar.  I think I added a few more tomatoes, onions and peppers than I show in this picture.  It takes quite a few peppers to make the 5 cups called for in the recipe.
 
Ten cups of chopped tomatoes in the bottom of the pan.
 
Five cups of sweet peppers layered on the tomatoes.  I used both green and yellow sweet peppers.  I figure they both add a little something different to the finished product.
 
Five cups of onions on top of the sweet peppers.  I used both red and yellow onions for color and texture.  More colors look prettier in the jar. 
Last but not least are two and a half cups of chopped jalapenos.  It gets finished off with some apple cider vinegar and salt.  I usually like my salsa on the not too hot side, but I know many people that don't mind setting their mouth on fire when they eat salsa.  This is for them.  I didn't remove a single seed from these jalapenos, so this will be plenty spicy for me if I can tolerate it at all.  So far I could take the nibble I had before it was canned, but the flavors tend to come out more the longer it sits. 
 
The next day I added seven jars of spicy salsa to my shelf.  There would have been eight, but my canner only fit seven jars, and it had to be taste tested of course.  It was delicious.


Wednesday, August 14, 2013

The Art of Making Dill Pickles

I thought I should do a more in depth post about how I make pickles.  Basically I just follow the recipie in the Ball Book of Home Preserving.  Here is some step by step info on what I do.

First off I always try to use the very freshest cucumbers that I can find.  If the skins are starting to pucker I won't use them for anything but eating fresh.  I try to keep up with the cucumber harvest by eating the oldest in cucumber and tomato salads, but some weeks it is very easy to get behind. 

This is the cucumber harvest from the last two days.  It's not huge or anything, but canning in small batches is less overwhelming to me.
 
I scrubbed them well and cut a thin slice from the blossom end.  Leaving that on can make the pickles bitter.  I then layered the cucumbers in a ceramic dish.
 
 
The next step involves mixing a 1/2 cup of pickling salt with 4 cups of water. 
 
 
Stir until the water is clear again.
 
Then cover the cucumbers with the salt water.
 
Depending on the size of the dish, you may need to add more water to cover them completely.
 
In the book it says to layer cucumber and ice cubes, but I just cover the mix with ice and keep it in the fridge to soak for about 12 hours.  I figure that the ice is just meant to keep the temperatures of the cucumbers as cold as possible without freezing them.  I don't want to use too much ice because it obviously dilutes the salt water as it melts which would affect the taste of the finished product.
 
 
As the 12 hours mark approaches I prepare the canner with jars and lids.  I fill the large pot until water covers the jars and heat on high until it boils.  After the water is boiling I add fresh lids to the water and let it go for at least ten minutes to sterilize the jars and lids.
 
While the canner is heating I heat up the pickling brine in a seperate pot.  I make my brine in large batches and keep it in the fridge to use as needed.  Every time I need some brine for pickles I just take a couple jars out of the fridge and throw them into a pot and bring it to a boil.
 
While the brine is heating I will skin a few cloves of garlic and pick fresh dill flower heads to be added to the jars for flavor.
The book also calls for adding a few teaspoons of mustard seed to the jars but I have been unable to find any this year.
 
The last thing I do before I pack the cucumbers into the jars is to rinse them very well under cold water.  This gets rid of any excess salt in the final product.
 
Each jar gets one clove of homegrown garlic, one head of fresh dill and as many pickles as I can squeeze into it.  Right now I am only using pint jars because my harvests are still fairly small.  If I start getting cucumbers in large numbers I will use quart jars instead.  After packing each hot jar I top them off with boiling hot pickline brine.  When all the jars have been filled, wiped and capped they go back into the canner for twenty minutes.  At the altitude I live at they need to process for an extra ten minutes to ensure they are safe.
 
This small batch only made three pints, but in my book three is much better than none.  I look forward to munching on delicious dill pickles all winter long.


Sunday, August 11, 2013

Homemade Tomato Sauce

This is the third year that I have been making my own homemade tomato sauce and I can honestly say that every year is a learning experience.  The first time I attempted to can tomato sauce it turned out more like tomato juice than sauce.  I have since learned that cooking time is everything.  Making tomato sauce takes a little preparation, but nothing really difficult.  The first thing I do is wash all of my tomatoes very well.  This year I am using my heirloom brandywine and moskvich tomatoes since they are both pretty meaty as far as tomatoes go.  In the past I have used cherry tomatoes and roma tomatoes, but I find that the larger beefsteak varieties produce more sauce pound for pound than the smaller cherry and romas.
This is the first big crop of tomatoes from our garden.  They were cored and the bad parts were cut out and into the saucepan they went.
 
 
I cook them on low heat until they are pretty mushy and there is plenty of liquid in the pan.  The next step involves smashing them in a strainer to remove the skins and seeds from the sauce.
 
 
The leftover liquid goes back into the sauce pan where I simmer it until the sauce is as thick as I want it.  The skins and seeds become chicken candy (They go bananas over anything tomato).

 
This is the sauce just before I canned it.
At this stage it was fairly thick and had cooked down more than I had expected.  It didn't even fully fill a pint jar.
 
I decided to process the single jar anyways.  I plan on using it fairly soon since it didn't use the full space of the jar it was supposed to. 
 
Today's take home lesson is that it takes a heck of alot of tomatoes to make a decent amount of sauce.  Next time I hope to have alot more tomatoes to round out my stores.


Friday, August 2, 2013

Apricot Jam

There is a local farm that sells fresh fruits and veggies out of a little shed along the main drag in town.  They just opened for the season a few weeks ago when their cherry and apricot crops were ripe.  Even though they lost a huge percentage of their crops due to the late round of hard frost we had this spring, they still had pretty decent looking produce compared to the local grocery stores.  The cherries were delicious but I only get enough to last me a little while since they tend to go bad pretty quickly.  The apricots have been sweet and juicy from the start.  I have bought a few every week just to have as snacks and I noticed that the numbers have started to dwindle the last couple times I stopped in.  I asked how much longer they expect the crop to be coming in and they told me only a couple more weeks, so this week I bought several pounds of fresh apricots to be made into jam.  Apricot jam has got to be one of my most favorite spreads for pb&j and last year I managed to pull it off the first time I tried making it.  I love the simplicity of the recipe - just fruit, sugar and lemon juice.  It is nice to know what goes into the foods I eat.  The hardest part of the whole process is skinning the apricots.  I tried dunking them in boiling water, but my timing needs more finesse.  Some of the apricots peeled beautifully in one big piece and others were horribly butchered by the time I was done skinning them.  Once they were skinned and pitted I cut them in to good sized chunks and threw them in a big pan with the sugar and lemon juice.
 
I brought it to a boil, stirring the whole while.  This part seemed to take forever, but I have read that making fruit jams without using pectin does take longer, so I wasn't surprised.
 
The mix foamed up quite a bit while it was heating, but it definitely got thicker and thicker while I was stirring.
 
While the jam was cooking I set up the canner and cleaned some jars and lids.  When it was ready I started filling jars with sweet, syrupy apricot jam.  It smelled divine.

 
I set all the jars in the canner when they were full and turned the heat up under the pot to bring it to a boil again.

 
Once the water was boiling again I covered it and started the timer for 20 minutes.  At sea level you only have to let it boil for 10 minutes, but we are at about 6000 feet here so I added an extra 10 minutes just to be safe.  I really don't worry too much about cooking it too long since it doesn't change the finished product.


Here are the jars in their final stage - cooling.  I usually let them sit overnight before I remove the rings that hold the lids in place.  I got eight half pint jars out of this batch.  If I can buy another few pounds of apricots I may make another batch.  I may just have to wait until the peaches are ready and make peach jam instead.


Thursday, August 1, 2013

First Batch Of Pickles

The cucumbers have been showing up in ones and twos for a week or so and we have been eating them as fast as they can grow.  There is nothing quite like a fresh sliced cucumber sprinkled with a touch of salt and vinegar (a trick I learned from grandma).  This weekend I had enough of a flush of young tender cucumbers to make a tiny batch of pickles - the first of the year.  I only ended up filling two pint jars with my humble harvest, but I adore pickles and have vowed to grow enough cucumbers every summer to keep me in pickles until the next summer.  Last year I succeeded at that feat and still have two jars of pickles to show for it though I think they may not be around long. 

I have decided to pickle my cucumbers whole this year.  Last year I made both whole and speared pickles and I thought that the whole pickles held their crunch much better than the spears.  I don't use pickle crisp because I like to keep the recipes as simple as possible.  We are also at about 6000 ft of elevation so I have to boil the jars longer to adjust for altitude.  I think the longer cooking time has a lot to do with pickles getting soft when they are canned especially when the spears tended to be rather small.

I try to use the cucumbers as fresh as possible when I pickle them, usually within a day or two of harvesting.  Just like dehydrating, the freshest veggies makes the prettiest and tastiest preserved product.  This harvest only included a total of ten cucumbers which I soaked in iced salt water for about 12 hours before I canned them.  I made sure to rinse them well since I have learned that really salty pickles are what you get when you don't rinse them before canning.  This evening I made a full batch of pickling brine.  I have found that it is easier to reheat some premade brine than making a full new batch each time.  I think that cucumbers will be coming in pretty steady for the next few weeks, so it won't sit long.  I just make sure to jar it up when it's hot and keep it in the fridge until I'm ready to use more. 
The first two jars of pickles.  Can't wait to try them out.
 
I have only started canning produce in the last few years so I am no where near what I would describe an expert.  I just follow the recipies in the Ball Home Preserving book and through trial and error have found a few recipies that I happen to like.  As my garden grows from year to year I will try different methods of preservation to see how I like them.  Lucky for me I already know how much I love pickles, so that will always be something I will try to make every year.  So far almost every batch has turned out slightly different so I am really trying to be more consistant with the way I make pickles this year.  

Sunday, March 24, 2013

Home grown pickles

Anyone that knows me knows that I am world's biggest dill pickle fiend.  I could eat an entire jar of pickles in one sitting if I lost all self control.  Growing up my parents nicknamed me the pickle queen because every time they bought a jar of pickles it would dissapear in two days. 

Now being fully aware of my love for pickles, I decided that I was going to grow enough cucumbers to keep me happy in the pickle department for a full year if I could.  The first year we grew a garden out here I didn't even come close.  My cucumber plants didn't grow very well because they were being shaded out by our monster zucchini plants.  The next year I devoted an entire side of the fence in the garden to growing nothing but cucumbers.  I picked alot of pickles that year though I am still not sure if they will last me until I can make more this summer.  Lets just say I have them on a rationing program so I don't run out.

So growing the cucumbers is the easy part.  Make a nice garden bed, plant seeds in ground, add water and wait until your cucumbers are the perfect pickle size before you pick them.


Here is where it gets a little labor intensive.  For pickles to be their best you should start the pickling process when they are just picked.  If you need to wait a few days before you have enough for a whole batch of pickles you can throw them in the fridge until you are ready, but don't use any that become soft or wrinkly.  They won't taste good or be as crisp.  The recipie that I used for my pickles comes from the Ball book of Home Canning and is called Grandma's homemade dill pickles.  The recipie says that it takes two days to make these pickles, but you can usually get it done in one day as long as you start the process early in the morning.

When preparing your cucumbers for pickling make sure you scrub them well.  Any dirt or debris left on them can ruin a whole jar of pickles (which is a horrible horrible sad thing).  When you make your pickles you can slice them any way you want or leave them whole, just make sure you trim a little off the flower end of the cucumber or your pickles may be bitter.  I've tried making spears and whole pickles and I have to say that the whole pickles seem to hold their crispness a lot better, though they don't fit in jars as nicely as spears do.  I have also heard they make something called pickle crisp if you are having crispness issues, but I usually don't use that and haven't had any pickles that were unusually soft.

So you mix up some salt water according to the recipie and layer cucumbers and ice until your bowl or crock or whatever is full.  Then pour your salt water over that until all of your cucmbers are covered.  Weigh it all down with a plate so that your cucumbers stay under water and put in the fridge for 12-18 hours.  You don't want to go longer than 18 hours or you will have super salty pickles when you are all done.

The next step is to set up your canner, jars and lids and make sure the water is boiling before you ever take the pickles out of the fridge.  Once you get that going you can make your pickling juice which is just vinegar, water and salt boiled with some pickling spice for about 20 minutes.  After everything else is prepared for your pickles you can take them out of the fridge and rinse them very well under cold water.  I learned the hard way that if you forget to rinse your pickles then they will be intolerably salty, so make sure you rinse them well.

Next add a clove or two of garlic to each jar along with a dill flower (or dill seeds) and some whole peppercorns.  On top of that fill the jars with as many pickles as you can fit.  Top off the jars to the correct level with your pickling juice, apply the lids and set them in the canner.   I always make sure that I pay attention to the time when I make my pickles.  Up here in the mountains I have to adjust for altitude, but I don't want to overcook them or they will become soft. 

Once they have spent enough time in the canner I take them out and let them cool on the counter until the lids seal over with their infamous pop.  When I store them, I make sure to remove the screw top of the jars so I will know if the seal has broken before I use them.  Loose lids mean I don't eat from that jar. I'd rather toss a whole jar of pickles than come down with botulism from improperly sealed canned food.